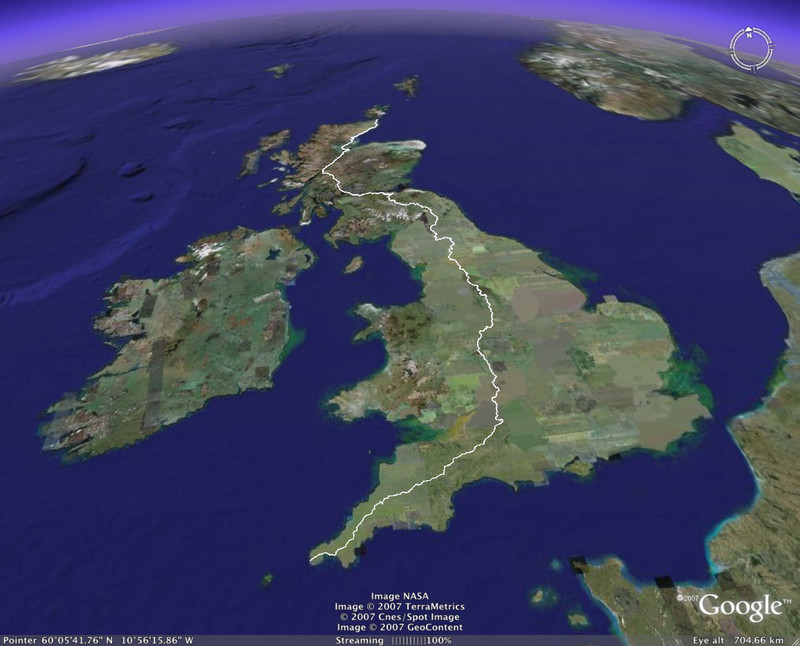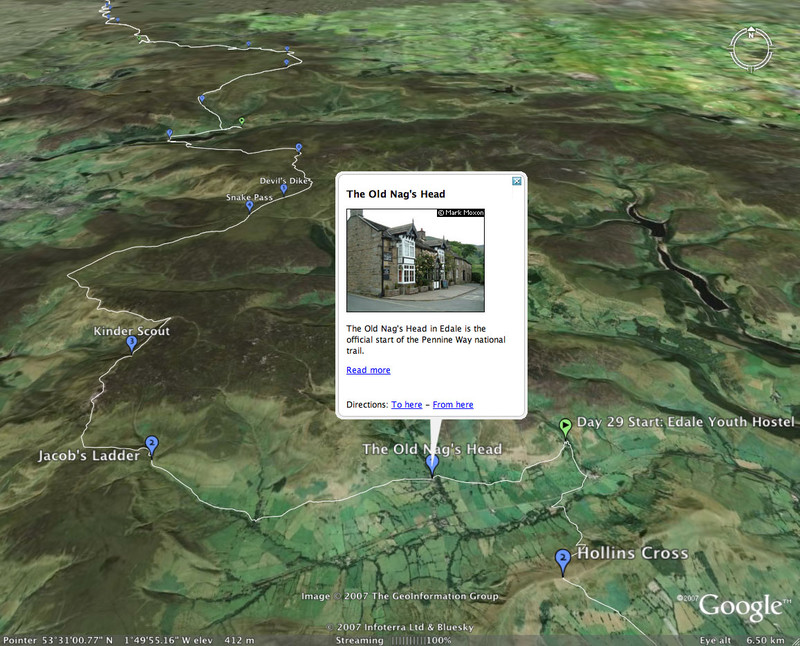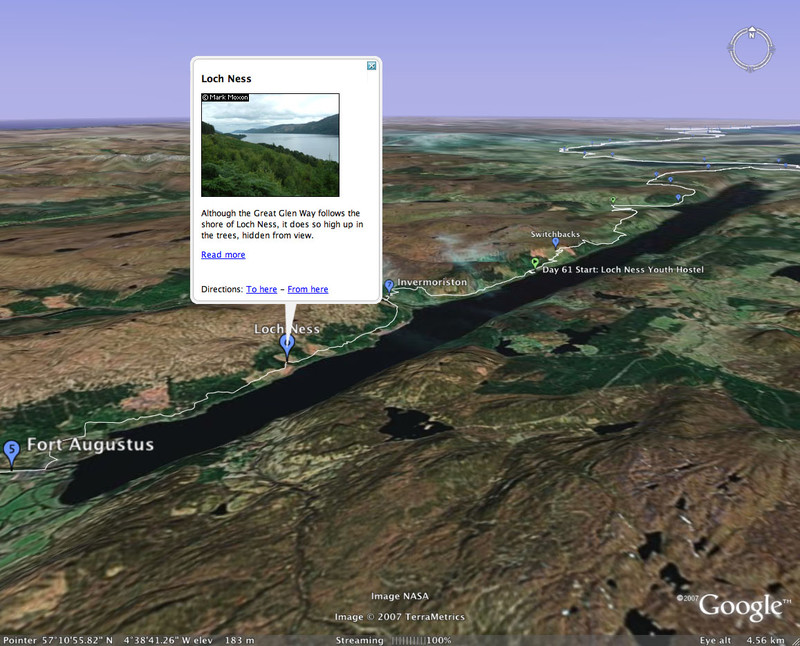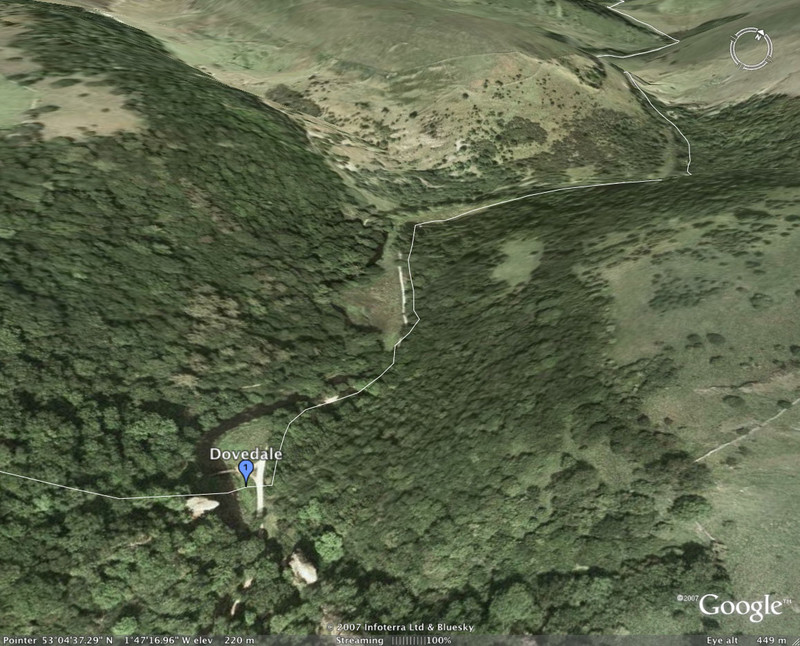
If you'd like to enjoy the experience of walking from Land's End to John o'Groats without leaving your armchair, then you can do just that using Google Earth (which you can download for free). I've put together a file containing details of my route that you can load into Google Earth, and fly along the route in three dimensions, zooming in on places of interest and examining every single footstep of my walk as if you were a bird. All you need to do is:
-
Download Google Earth for free and install it on your computer
-
Download my route file (208 KB) and double-click on it to load it into Google Earth
And hey presto! Google Earth loads up my route, ready for you to explore. Enjoy!
Some Basic Instructions

For detailed instructions on using Google Earth, I refer you to the Help system that comes with the software, but here's a quick guide on using my route file.
When you double-click on the route file to load it into Google Earth, the globe should rotate round and zoom in towards Britain, eventually showing the route from one end of Britain to the other.
When the route first loads up, it shows the line of the route and all my accommodation stope; you can also switch a set of placemarks showing points of interest along the way, but at this point they're both switched off to prevent things getting too cluttered. See the next section for information on this.
If this is your first time using Google Earth, you might want to zoom in and out a little, pan the view up and down, and rotate the view, to get a feel for what you can see and how you can move it around. You can do this using the controls at the top right of the window (or, if you're using a version of Google Earth earlier than 4, the controls at the bottom). The best way to learn what you can do with the controls is to play with them.
Using the Places Panel

Along the left-hand side of the application you should be able to see the Places panel. This lists all the different sets of placemarks in my route file, and by ticking and unticking the various boxes, you can hide or show various types of feature, namely the route itself, the accommodation stops, and points of interest along the way.
Try switching on the points of interest by ticking the box next to the 'Points of Interest' folder; a collection of blue placemarks should appear, showing various interesting spots along the way. If you click on a blue placemark, Google Earth will pop up a little information window about that place. You can, of course, hide these placemarks again by unticking the box.
You can open up folders in the 'Places' panel to see a list of placemarks in alphabetical order, so if you want to track down a point of interest whose name you know, simply open up the 'Points of Interest' folder, track down the placemark and double-click on it; Google Earth will then rotate to that placemark. You can do a similar thing with accommodation stops.
Taking a 3D Walk Along the Route

If you want to follow the route in 3D, first make sure the 'Terrain' box in the 'Layers' pane is ticked (or, for earlier versions, tick the 'Terrain' box below the main screen). This makes hilly country appear in 3D, though the flatter parts of the country will only look hilly if you zoom in very close.
Next, zoom in close to the start point (you can do this by double-clicking on the relevant point in the Places panel, as well as panning and zooming manually). Tilt the view down and rotate the view left or right until you're looking along the route, and when you're ready to set off, you can either grab and drag the 3D screen itself, or you can click on the button in the middle of the navigation control (the 'joystick' in Google parlance) and hold down the mouse button while you move your mouse. You should find you can use this to fly along above the route, and if you need to turn a corner you can let go of the joystick and rotate in a new direction, before clicking on the joystick and setting off again.
It's almost as good as being there... but without the blisters.
Notes
Here are a couple of caveats when using my Google Earth route file:
-
Accuracy: This route file isn't accurate enough for navigation – it's just a bit of fun. I entered the route by hand, so if you tried to follow it, you'd probably fall off the edge of the Earth, or something even more spectacular.
-
Deviations and Mistakes: I got lost every now and then, and the route contains a record of these random wanderings (where I could work out where I must have gone, anyway). So if I appear to deviate from long-distance paths or rights of way, that's why...
That's it – I hope you enjoy exploring the route.